 If you've been following me for awhile, you'll remember when I started decorating my boy's bedroom. We just moved into our new house this summer, and I told you I was going to focus on decorating my boy's room until it was totally finished...
But with a whole new house to have fun decorating, how could I focus only on one room?? Needless to say, it's been awhile since I've shared any progress in their room, so today I'm going to show you some of the wall art I made for my sweet boys.

My boy's room and the master bedroom are both located on the second level, which we just recently converted from an empty, unfinished attic. Both rooms have sloped ceilings and odd sized walls because of the layout, so I finding artwork that fits well on each wall has been a challenge.
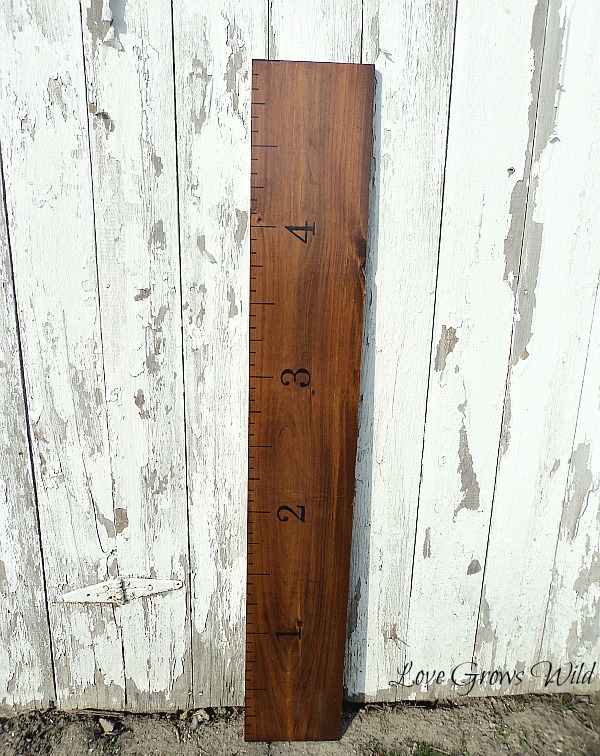
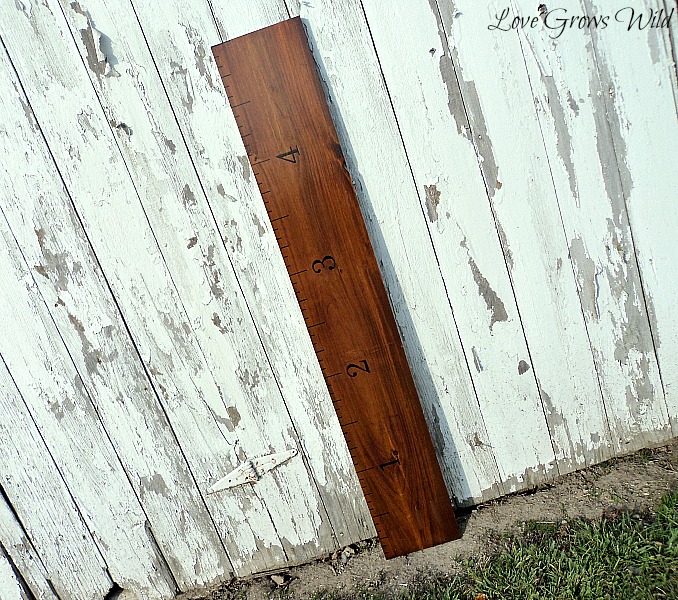
This Pottery Barn style Ruler Growth Chart is the perfect fit next to their closet, and couldn't be easier to make. I started off with an unfinished wood board leftover from our renovation. I gave it a quick sand and stained it.
Did you know you could create your on stain using vinegar and steel wool? It's easy!

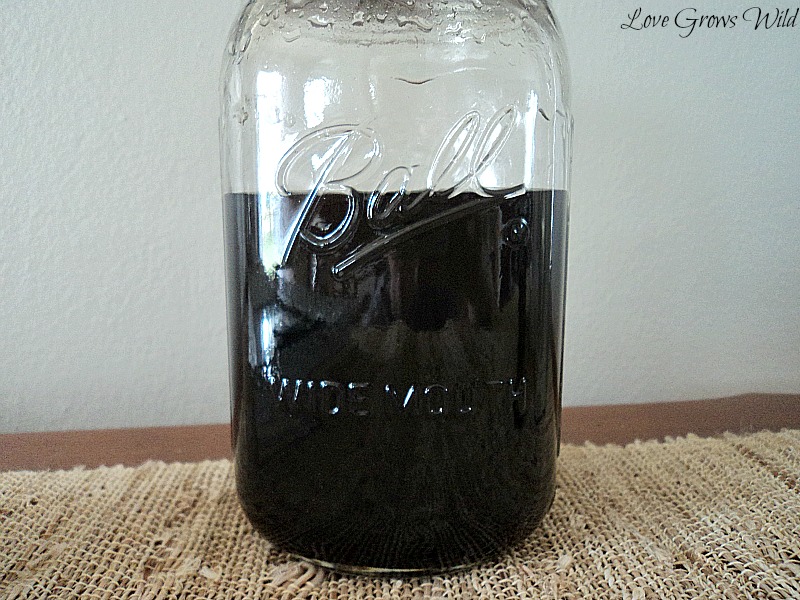
Drop a piece of Grade #0000 Steel Wool into a mason jar.

Pour White Vinegar into the jar until it totally covers the Steel Wool.

Seal the lid on the jar and let the vinegar work its magic! After 5-7 days, the vinegar will have dissolved the steel wool and will be very dark. (You might want to give the jar a little shake once in awhile to help along the process)
Apply the vinegar to the wood with a paint brush, just like you would with regular stain. The acidity of the white vinegar creates a slate gray appearance (think Restoration Hardware!) I applied several coats to achieve the look I wanted.

After the stain was totally dry, I sanded the wood lightly and wiped it down. I used a ruler and a black Sharpie pen to create the inch marks along the side of the board. I drew a 2" long line for each foot mark, a 1" long line for each 1/2 foot mark, and 1/2" long lines for each inch mark in between. I hope that made sense!

I used an easy wood transfer method to make the numbers. All I did was print the numbers from my computer, tape them down where I wanted them, and traced the outline of the number with a ball point pen.
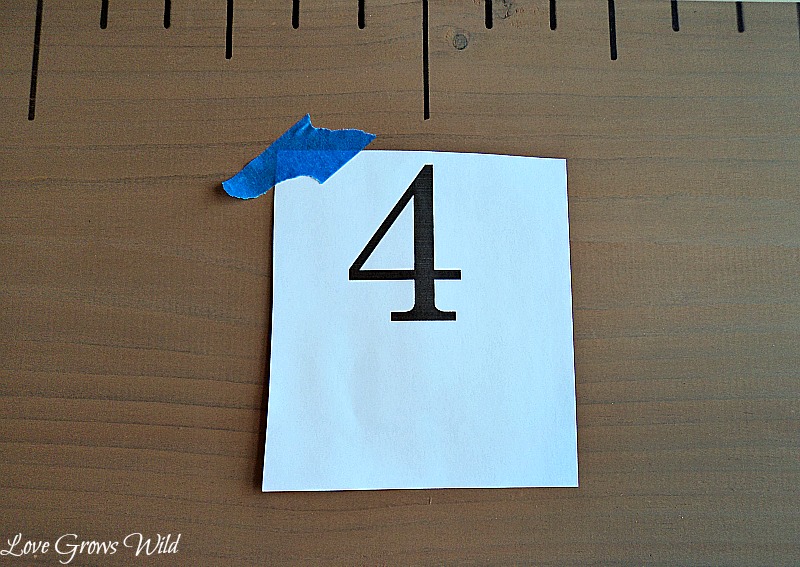
When I peeled back the paper, I had a PERFECT outline of the number!

To fill in the number I traced the outline with a fine tip Sharpie and filled the inside with black paint. Using the Sharpie first gives me a nice, crisp edge!

Once the paint was dry I sealed the whole board with polyurethane. This of course changed the antique gray color the vinegar stain gave, but I love the way it made the wood really shine and showed off the aging effect of the vinegar.


My boys LOVE their Ruler Growth Chart! They couldn't wait to hang it up in their room and measure themselves!
I have a few more projects up my sleeve for their bedroom and then I promise I'll give you the grand tour! I hope you've learned a few new techniques today that you can apply to your own projects! Come back anytime!
Here's what we've done in the boy's bedroom so far:
Paper Airplane Mobile
Alarm Clock Makeover
Boy's Bedroom Curtains & DIY Curtain Rods on the Cheap!

0 comments:
Post a Comment